IPDM56: Difference between revisions
| Line 29: | Line 29: | ||
[[File:Push the pins through.jpg|center|thumb|[[File:Front view, note different numbering.jpg|none|thumb|Front view, note different numbering]][[File:Square and kerb a chopstick for pushing the crimped pins.jpg|center|thumb|Square and kerb a chopstick for pushing the crimped pins]]Push the pins through]] | [[File:Push the pins through.jpg|center|thumb|[[File:Front view, note different numbering.jpg|none|thumb|Front view, note different numbering]][[File:Square and kerb a chopstick for pushing the crimped pins.jpg|center|thumb|Square and kerb a chopstick for pushing the crimped pins]]Push the pins through]] | ||
For powering the board from 12V DC | For powering the board from 12V DC it makes sense to use either Pin 3 or 4 for ground but '''only Pin 2 for +12V'''. Pin 1 was +Vbat on V1.0, it's M11 on V1.1. An automotive fuse is recommended. | ||
[[File:12V connected.jpg|center|thumb|12V connected]] | [[File:12V connected.jpg|center|thumb|12V connected]]If you want to use '''high side''' outputs, you have wire the supply into Pins 55, 56 and 33 for HOUT 1-9. ''This can be a different voltage? HOUT10 is supplied by Pin 2?'' | ||
== First program - blink LEDs == | == First program - blink LEDs == | ||
Revision as of 22:00, 18 April 2023
Getting started with the iPDM56 VCU
Note: all documentation is under https://github.com/celeron55/ipdm56
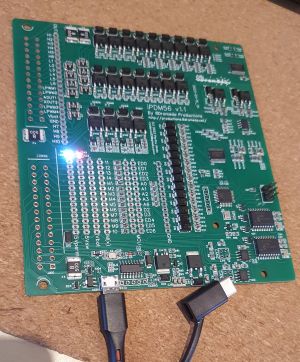
Connect the board to USB and power it up
This is a sanity check before you start soldering and chase your tail troubleshooting.
Use a good quality micro USB cable and power the board up through it via a charger or computer.
Solder the connector onto the board
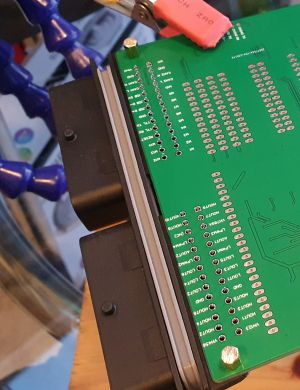
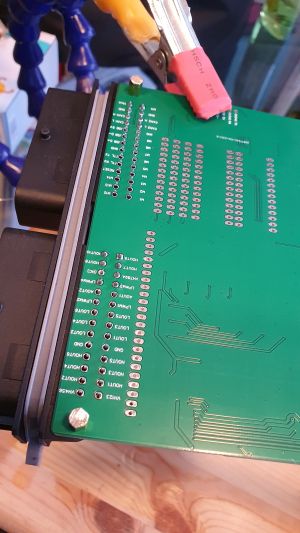
Before you start soldering, test fit the PCB to see if the remaining holes line up with the threaded mounts of the enclosure.
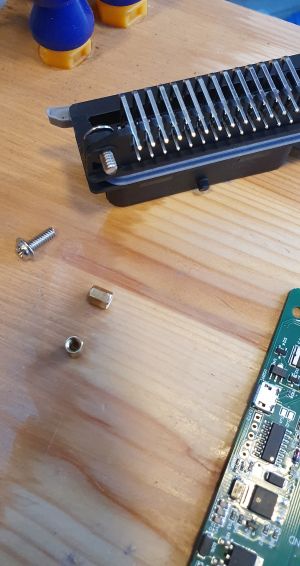
Apart from soldering equipment you will need two small screws and nuts to secure the 56 pin header connector to the PCB so it is secured during soldering.
If you're in a rush, you should alternate between the two sections to avoid overheating the board and reduce stresses on the joints.
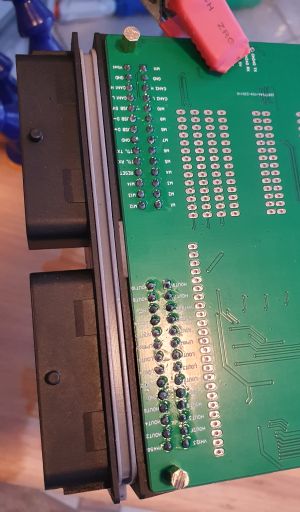
Wiring in the pins
(starting with the USB connection)
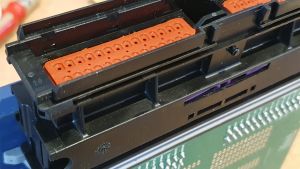
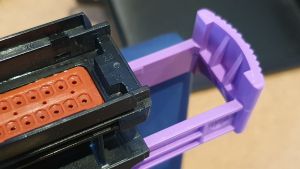
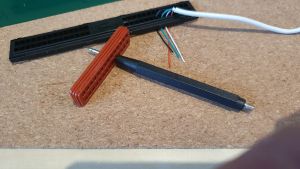
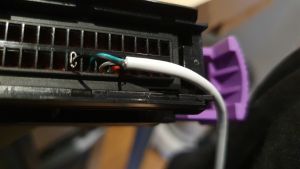


For powering the board from 12V DC it makes sense to use either Pin 3 or 4 for ground but only Pin 2 for +12V. Pin 1 was +Vbat on V1.0, it's M11 on V1.1. An automotive fuse is recommended.
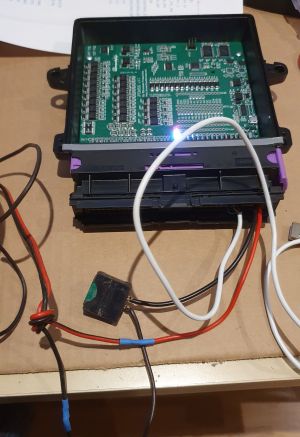
If you want to use high side outputs, you have wire the supply into Pins 55, 56 and 33 for HOUT 1-9. This can be a different voltage? HOUT10 is supplied by Pin 2?
First program - blink LEDs
Set up the Arduino IDE. The ATMega 328 is also used on Arduino UNO, Arduino Pro Mini and Arduino Nano, so programming should be familiar. See https://docs.arduino.cc/hardware/uno-rev3 for some tips.
As the iPDM56 uses a CH340G USB-to-serial converter, the choice of bootloader will be ignored, just choose the correct serial port.