OEM Inverter OI modification: Difference between revisions
Jump to navigation
Jump to search
No edit summary |
No edit summary |
||
| Line 15: | Line 15: | ||
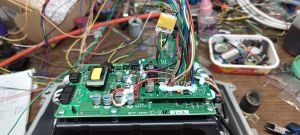
|[[File:OEM inverter lobotomy top.jpg|thumb|OEM inverter lobotomy top]] | |[[File:OEM inverter lobotomy top.jpg|thumb|OEM inverter lobotomy top]] | ||
|- | |- | ||
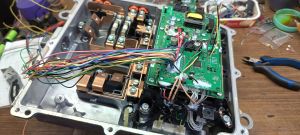
|[[File:OEM inverter lobotomy side.jpg|thumb|OEM inverter lobotomy side]] | |[[File:OEM inverter lobotomy side.jpg|thumb|OEM inverter lobotomy side]] | ||
|- | |- | ||
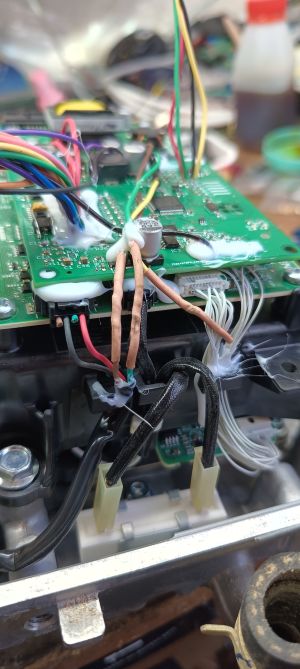
|[[File:OEM inverter lobotomy wires.jpg|thumb|OEM inverter lobotomy wires]] | |||
|[[File:Schematic for OI connection .jpg|thumb|Schematic for OI connection ]] | |[[File:Schematic for OI connection .jpg|thumb|Schematic for OI connection ]] | ||
|} | |} | ||
Revision as of 08:08, 20 September 2024
This page describes control of Mitsubishi rear inverters with OI brain board V3.
Transistor signals are open collector. No fault signal found yet... Resolver is connected directly with OI. HV signal is read connected to the yellow wire.
recorded 127 kW on the wattmeter! Picture shows 0.1 uf condenser mounted on the shutter and the GND. This gives a delay in switching on the contactor and it OVERCAME the problem of arbitrarily turning on the contactor for a fraction of a second when 12 volts are supplied.
 |
 |
 | |
 |
 |